
Winter should not be treated as a low-season shutdown by default. For a well-designed glamping resort, colder months can create a distinct guest proposition: snow views, wellness retreats, seasonal cuisine, dark-sky experiences, and private nature escapes. The challenge is that a winter-ready site is not created by adding a heater to a summer tent. It requires coordinated decisions across the tent envelope, structure, platform, utilities, interior layout, safety systems, housekeeping routine, and emergency planning.
This guide explains how to winterize a commercial glamping site for the 2026/2027 operating season, with specific recommendations for geodesic dome tents and safari lodge tents. It is written for resort developers, campground owners, hospitality operators, architects, and procurement teams evaluating 4-season accommodation.
Important technical note: Local wind, snow, fire, planning, electrical, gas, and sanitation requirements differ by jurisdiction. This article is an engineering and procurement guide, not a substitute for a locally licensed professional engineer, fire authority, building official, or qualified MEP contractor.
A glamping unit can feel warm while still having serious winter risks. A heater may raise indoor air temperature, but it cannot correct an undersized frame, blocked roof drainage, cold bridges at the floor, frozen water lines, or excessive humidity from showers and cooking.
A winterization plan should therefore answer seven questions:
1. Can the structure safely carry the expected wind, snow, and ice actions?
2. Can the envelope retain heat without creating hidden condensation?
3. Can guests maintain a comfortable indoor environment without excessive energy use?
4. Can water, wastewater, electrical, and HVAC systems operate during freezing conditions?
5. Can the site remain safe if snow blocks access or power is interrupted?
6. Can housekeeping and maintenance teams inspect the units efficiently?
7. Does the documentation satisfy the local authority having jurisdiction (AHJ)?
The European glamping market illustrates why this preparation matters. Grand View Research reports that the Europe glamping market was valued at USD 1,280.5 million in 2024 and projects a 2025–2030 CAGR of 8.5%, with demand linked to sustainable travel and comfort in nature. These figures are market-research estimates, not a guarantee of occupancy for any individual project. Source: Grand View Research, Europe Glamping Market
Before selecting a dome or safari tent, create a winter design brief for the exact site. “European climate” or “tropical climate” is too broad for structural and MEP decisions. A mountain site, a coastal site, and a sheltered woodland site can have very different design loads and moisture risks.
A resort that remains open all winter needs a different specification from a site that closes between November and March. Decide whether each unit will be:
● Fully operational for continuous guest stays
● Open only during selected winter weekends
● Heated but winterized for standby
● Drained and closed during the coldest period
This choice affects insulation thickness, heating redundancy, pipe routing, standby energy, remote monitoring, staffing, and insurance requirements.
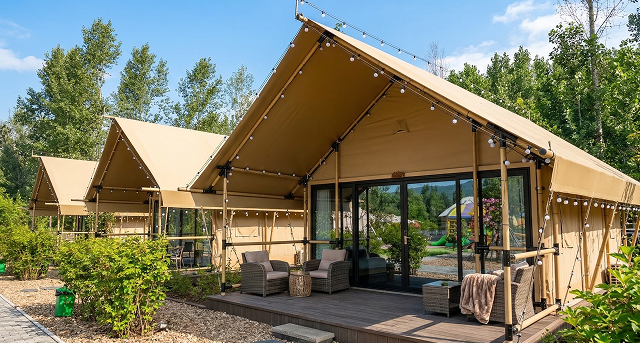
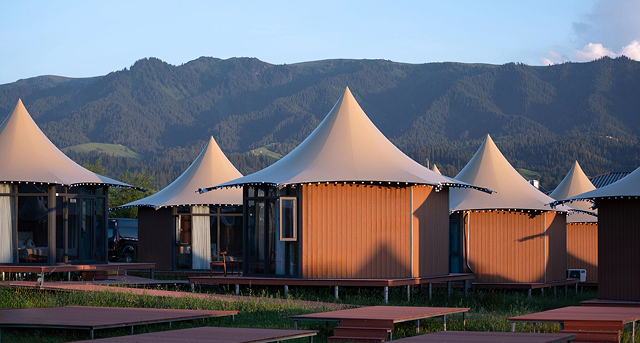
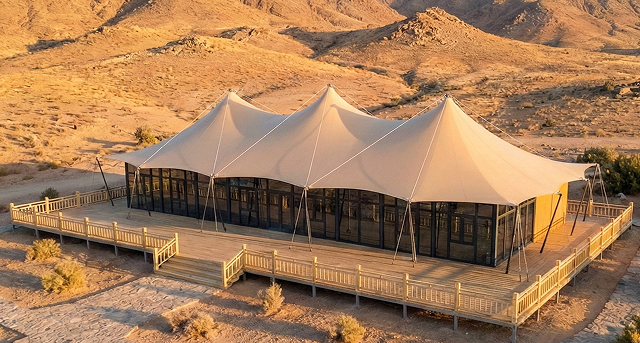
Dome and safari tents can both be designed for four-season use, but they solve different architectural and operational problems.
| Design factor | Geodesic dome tent | Safari lodge tent |
|---|---|---|
Geometry | Multi-faceted or curved geometry distributes loads through a frame network | Pitched roof and vertical or near-vertical wall sections create a lodge-like interior |
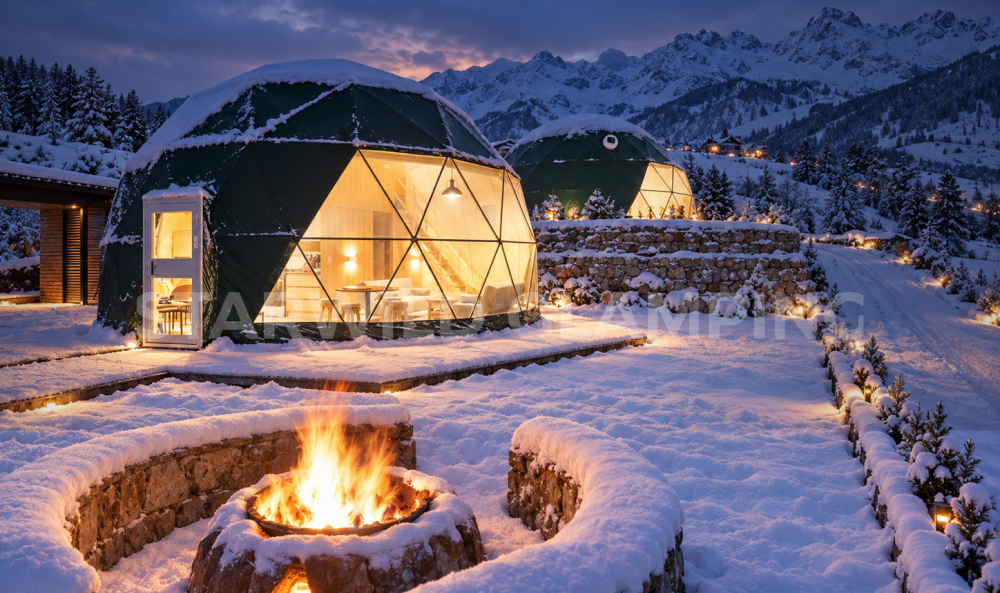
Winter daylight | Large transparent PVC bay sections provide panoramic views and natural light, but transparent PVC membranes require careful condensation, air-sealing, and thermal management. | Windows and doors can be positioned for views while preserving a more conventional wall/roof layout |
Snow management | Snow-shedding performance depends on geometry, panel angles, frame design, and local snow conditions | Roof pitch, fabric tension, ridge details, and snow accumulation zones require specific review |
Interior planning | Efficient for compact suites and panoramic-view units | Flexible for bedrooms, living rooms, bathrooms, kitchens, and larger family layouts |
Key winter risk | Condensation at transparent PVC window bays, frame junctions, skylights, and connection nodes. | Cold bridges at wall-floor junctions, roof valleys, doors, and membrane penetrations |
Best procurement question | What are the calculated loads and thermal details for each panel and node? | How are roof tension, flashing, gutters, insulation, and wall-floor junctions detailed? |
Neither product type is automatically “all-season.” A commercial winter specification must be based on the complete assembly rather than the tent category.
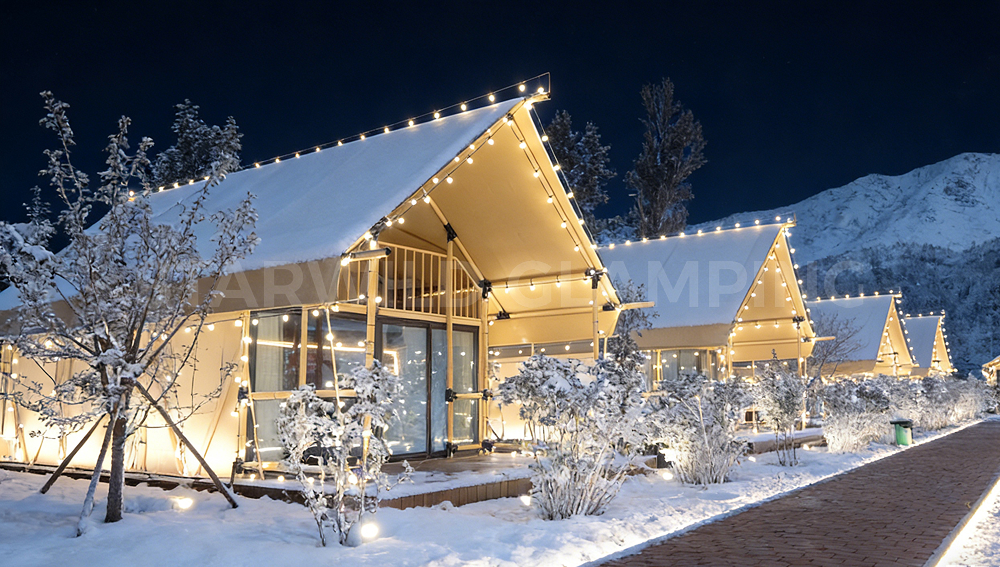
The most common winterization mistake is to compensate for a weak envelope with a larger heater. This increases energy demand and may produce uneven temperatures, hot surfaces, dry air, and condensation in cold corners.
A winter-ready tent envelope normally combines:
1. Weather layer: a waterproof and UV-resistant outer membrane.
2. Drainage and ventilation layer: controlled gaps or detailing that prevent trapped moisture.
3. Thermal insulation layer: a continuous insulation system with carefully treated joints.
4. Interior finish layer: a washable, durable lining that protects insulation and supports the guest experience.
5. Air-sealing layer: controlled treatment around doors, windows, service penetrations, and floor connections.
The goal is not simply to add more material. The insulation needs continuity, the seams need protection, and the details around doors, windows, cables, pipes, and exhaust ducts must be designed as part of the envelope.
For projects that require improved winter comfort, Starwild can add insulation cotton to the dome tent or safari lodge tent envelope. The insulation layer works together with the outer weather membrane, inner lining, air sealing, and HVAC system to reduce heat transfer and improve indoor temperature stability.
The insulation specification should be selected according to the project climate, operating season, interior layout, platform detail, and local fire-safety requirements. A suitable system should address:
● Insulation thickness and coverage across the roof, walls, and floor interface
● Continuity at doors, windows, frame nodes, and service penetrations
● Moisture management so the insulation does not remain damp
● Compatibility with the outer membrane and decorative inner lining
● Fire-performance documentation required by the local AHJ
● Access for inspection, repair, and future replacement
Insulation cotton does not independently make a tent suitable for every climate. Four-season performance depends on the complete assembly, heating and ventilation design, platform, drainage, structural loads, local regulations, and operating procedures. Starwild can recommend an insulation configuration for the intended site and provide a customized solution rather than applying one specification to every project.
Winter structure design must go beyond a headline wind-speed number. The engineer needs to review the full load path from membrane or cladding to frame, connectors, base plates, anchors, ground, and platform.
For domes, confirm how panel geometry and frame nodes transfer snow loads. For safari tents, confirm the roof pitch, fabric tension, ridge detail, pole or truss layout, and whether snow can accumulate in low points. A snow-shedding roof is not automatically safe if falling snow creates a hazard below.
Wind performance depends on more than the frame material. It also depends on:
● Building orientation
● Terrain exposure
● Anchor type and embedment
● Soil bearing capacity
● Platform stiffness
● Membrane tension
● Openings and doors during a storm
● Neighboring buildings and vegetation
Ask the supplier for structural calculations and anchoring recommendations that can be reviewed by a local engineer. If the site is coastal, inspect corrosion protection and the compatibility of fasteners, frame coatings, anchors, and drainage hardware.
Leave sufficient space for:
● Guest access from parking to each unit
● Emergency vehicle routes
● Snow storage away from doors and ventilation intakes
● Safe roof-drip and snow-slide zones
● Waste collection during difficult weather
A tent may be structurally sound but commercially unusable if guests cannot reach it safely after a snow event.
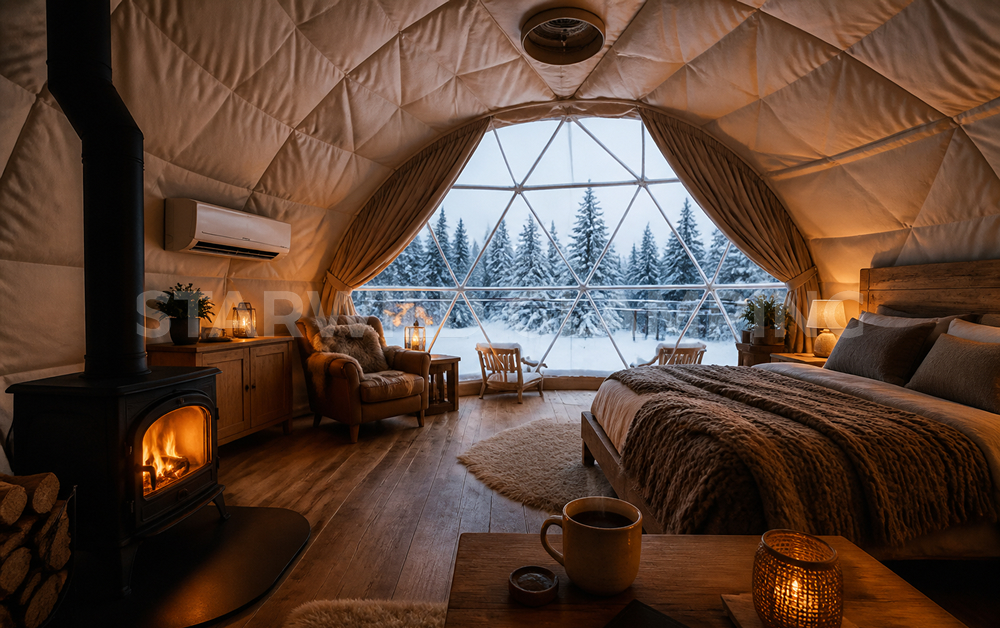
Heating should be specified as part of the operating strategy, not chosen from a retail catalogue after the tent arrives.
Air-Source Heat Pumps
Heat pumps can provide both heating and cooling and may be suitable for many climates. The design team must confirm low-temperature capacity, defrost behavior, outdoor-unit placement, noise, condensate management, and backup heating requirements.
Electric Panel or Radiant Heating
Electric systems are relatively simple to control and can be useful for bathrooms, entry zones, or supplemental heating. Confirm available electrical capacity, load shedding, and backup power planning.
Hydronic Underfloor Heating
Hydronic systems can improve comfort on raised platforms because they address the cold floor effect. They require careful pipe protection, freeze protection, manifold access, leak detection, and commissioning.
Wood or Pellet Stoves
A stove can create a strong winter guest experience, but it introduces combustion, flue, clearance, ventilation, ash, inspection, and fire-protection requirements. The stove, flue, flashing, hearth, and surrounding materials must be approved for the jurisdiction and installed by qualified professionals.
Separate the bedroom, bathroom, living area, and entrance zone where practical. A bathroom may need short, high-output heating, while a sleeping area benefits from quiet and stable temperature control. Remote thermostats and temperature sensors can help operators identify failures before a guest complaint occurs.
Winter air can be cold and dry outside, while guest activities create large amounts of indoor moisture. Showers, cooking, wet clothing, breathing, and melting snow can raise humidity rapidly.
Condensation occurs when warm, moist indoor air reaches a surface below its dew point. In a dome, common risk areas include transparent PVC viewing bay interfaces, frame junctions, skylight edges, and poorly insulated nodes. In a safari tent, risk areas include the wall-floor junction, behind furniture, at membrane penetrations, and around cold doors or windows.
● Install quiet mechanical extract ventilation in bathrooms and kitchenettes.
● Provide controlled fresh-air intake rather than relying only on open windows.
● Keep furniture slightly away from cold exterior surfaces.
● Inspect behind curtains, headboards, cabinets, and storage units.
● Use humidity sensors in representative units.
● Dry wet boots and clothing in a designated ventilated zone.
● Seal obvious air leaks without blocking designed ventilation paths.
Do not solve condensation by sealing a tent completely. A winter envelope needs both insulation and deliberate ventilation.
Commercial accommodation needs a documented fire-safety approach. Fabric flame performance, internal finishes, escape routes, alarms, extinguishers, emergency lighting, heating equipment, and guest instructions must be evaluated together.
For North American projects, buyers may encounter NFPA 701, which addresses fire tests for flame propagation of textiles and films. For European projects, the relevant classification and test route must be confirmed with the local authority, project fire engineer, and applicable national or European requirements. Do not assume that a certificate accepted in one country is automatically accepted in another.
A supplier should be able to identify:
● The exact fabric and coating specification
● The test standard and test report number
● Whether the test applies to the supplied production material
● Flame-retardant treatment limitations and maintenance instructions
● Installation details for fire-rated penetrations
For UK projects, planning decisions for glamping and safari-tent accommodation demonstrate that permissions are site-specific and can include conditions on the number of units, use, access, and supporting facilities. Treat local planning review as an early project task rather than an afterthought.
Winterization is not a one-time installation. It is a recurring operating system.
● Review structural calculations and inspection records.
● Inspect frame joints, bolts, anchors, guy lines, membranes, seams, and tension.
● Clean gutters, drains, roof edges, and ventilation openings.
● Test heating, thermostats, sensors, alarms, and backup power.
● Check pipe insulation, trace heating, valves, and drain points.
● Confirm fire equipment inspection dates.
● Rehearse guest relocation and severe-weather procedures.
● Stock spare seals, fasteners, membrane repair materials, filters, and batteries.
● Inspect for deformation, loose components, snow accumulation, ice damage, water entry, and blocked exits.
● Record photographs and corrective actions.
● Do not allow guests into a unit with suspected structural damage until it has been assessed by a competent person.
● Log indoor temperature and humidity.
● Check bathrooms and exterior service points.
● Inspect condensation-prone areas during housekeeping.
● Keep walkways, ramps, decks, and emergency routes clear.
● Communicate weather-related instructions to guests before arrival.
A pre-season commissioning test is more valuable than a brochure claim. Operate a representative dome and safari unit under controlled conditions and record the results.
● Verify node and connector design for the local load case.
● Check transparent PVC window bay seals, edge condensation, and drainage.
● Protect skylights and service penetrations against water ingress.
● Design furniture and HVAC airflow to avoid cold corners.
● Review snow shedding and safe snow-slide zones.
● Confirm platform insulation and air sealing around the perimeter.
● Verify roof pitch, membrane tension, ridge details, and snow accumulation zones.
● Detail the wall-floor junction and raised-platform connection.
● Protect doors, zips, windows, and flue penetrations from drafts and water.
● Provide gutters and controlled discharge away from the deck.
● Use insulation cotton across the specified roof, wall, and floor-interface areas, with a compatible inner lining.
● Create safe, accessible inspection routes around the tent.
Winterizing a glamping site for 2026/2027 is not about turning a summer accommodation unit into a warmer version of itself. It is about designing a coordinated, inspectable, serviceable hospitality system.
For a geodesic dome, prioritize node design, transparent PVC window bays, condensation control, platform insulation, and snow management. For a safari lodge tent, prioritize roof geometry, membrane tension, wall-floor detailing, drainage, protected penetrations, and a continuous thermal layer. For both, verify the local design loads, heating capacity, fire requirements, utilities, emergency access, and operating procedures before accepting winter bookings.
Starwild can support developers with campsite planning, customized dome and safari tent manufacturing, optional insulation-cotton integration, material selection, technical documentation, installation coordination, and project-level solutions. Four-season suitability should be evaluated for the complete assembly and the local engineering conditions rather than attributed to one material alone.
A successful 4-season resort is not defined by a single material or a single certificate. It is defined by how well every detail works together when the weather is least forgiving.
Start with a site-specific review of wind, snow, temperature, frost, and access conditions. Then upgrade the complete envelope, including insulation continuity, air sealing, doors, windows, service penetrations, and platform connections. Add correctly sized heating, humidity control, freeze protection for water systems, fire-safety measures, and a documented inspection schedule. Finish with commissioning tests before accepting winter guests.
Neither is automatically better. A dome can provide efficient geometry and panoramic views but requires careful design of transparent PVC viewing sections, nodes, connections, and snow behavior. A safari tent offers a lodge-like floor plan and flexible interior layouts but needs detailed review of roof pitch, membrane tension, wall-floor junctions, drainage, and penetrations. The better choice depends on the site, climate, local approvals, desired room layout, and operating model.
Use continuous insulation and air sealing, reduce cold bridges, and provide controlled mechanical extraction in bathrooms and kitchens. Monitor indoor humidity, keep furniture away from cold exterior surfaces, dry wet clothing in a ventilated area, and inspect hidden surfaces during housekeeping. Do not eliminate ventilation in an attempt to retain heat; moisture needs a controlled path out of the unit.
It can, when the complete structure is engineered for the local snow, wind, ice, and foundation conditions. The supplier and local engineer should review the roof geometry, frame, membrane tension, anchors, platform, access, snow removal, heating, plumbing, and fire safety. A generic “four-season” label is not enough evidence for a commercial winter project.
Insulation cotton adds a thermal-resistance layer within the tent envelope. When it is installed continuously across the specified roof, wall, and floor-interface areas and combined with suitable heating, ventilation, air sealing, and moisture control, it can reduce heat transfer and improve indoor comfort in colder weather.
1. Grand View Research, Europe Glamping Market Size, Share & Industry Report.
2. ISO, ISO 4892-1:2024 — Plastics: Methods of exposure to laboratory light sources. This standard concerns laboratory exposure methods; it does not by itself certify a specific tent membrane.
3. Climate, Extreme Ground Snow Loads in Europe from 1951 to 2100.
4. UK Planning Inspectorate, Decision concerning the siting of safari tents for seasonal tourist accommodation. This is an example of site-specific planning review, not a universal UK rule.
5. National Fire Protection Association, NFPA 701, Standard Methods of Fire Tests for Flame Propagation of Textiles and Films. Confirm the current edition and local applicability with the project AHJ.
6. European Committee for Standardization, EN 1991-1-3, Eurocode 1: Actions on structures — Snow loads. Confirm the adopted national parameters and project-specific design requirements with a local structural engineer.